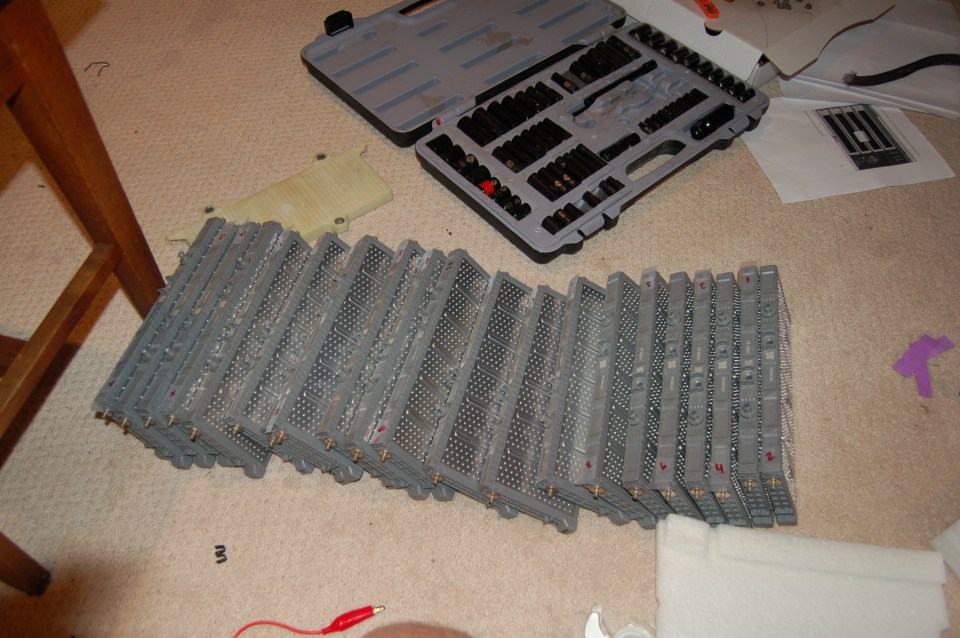
I labelled all the modules and kept track of their performance individually throughout the process. When it came time to rebuild the pack, I was curious if I should put it back exactly how I took it apart or “rotate the tires” or what. I couldn’t find a definitive answer on what the best thing to do was, so I used of the only metrics I had. I averaged out each module’s discharge over the 3 cycles and ranked them. Then I paired the modules together so the “strongest” was with the “weakest” and so on. So #1 went with #28, #2 with #27 etc. I saw someone mention this method, and for lack of anything else particularly sensible to do I went with it as well.
From there, the only tricky thing left was getting the modules back into the pack. It’s a tight squeeze! Each module has to line up with the hole in the bottom so that the screw can fasten it, so there’s not a lot of room for error. I used a super high tech block of wood.
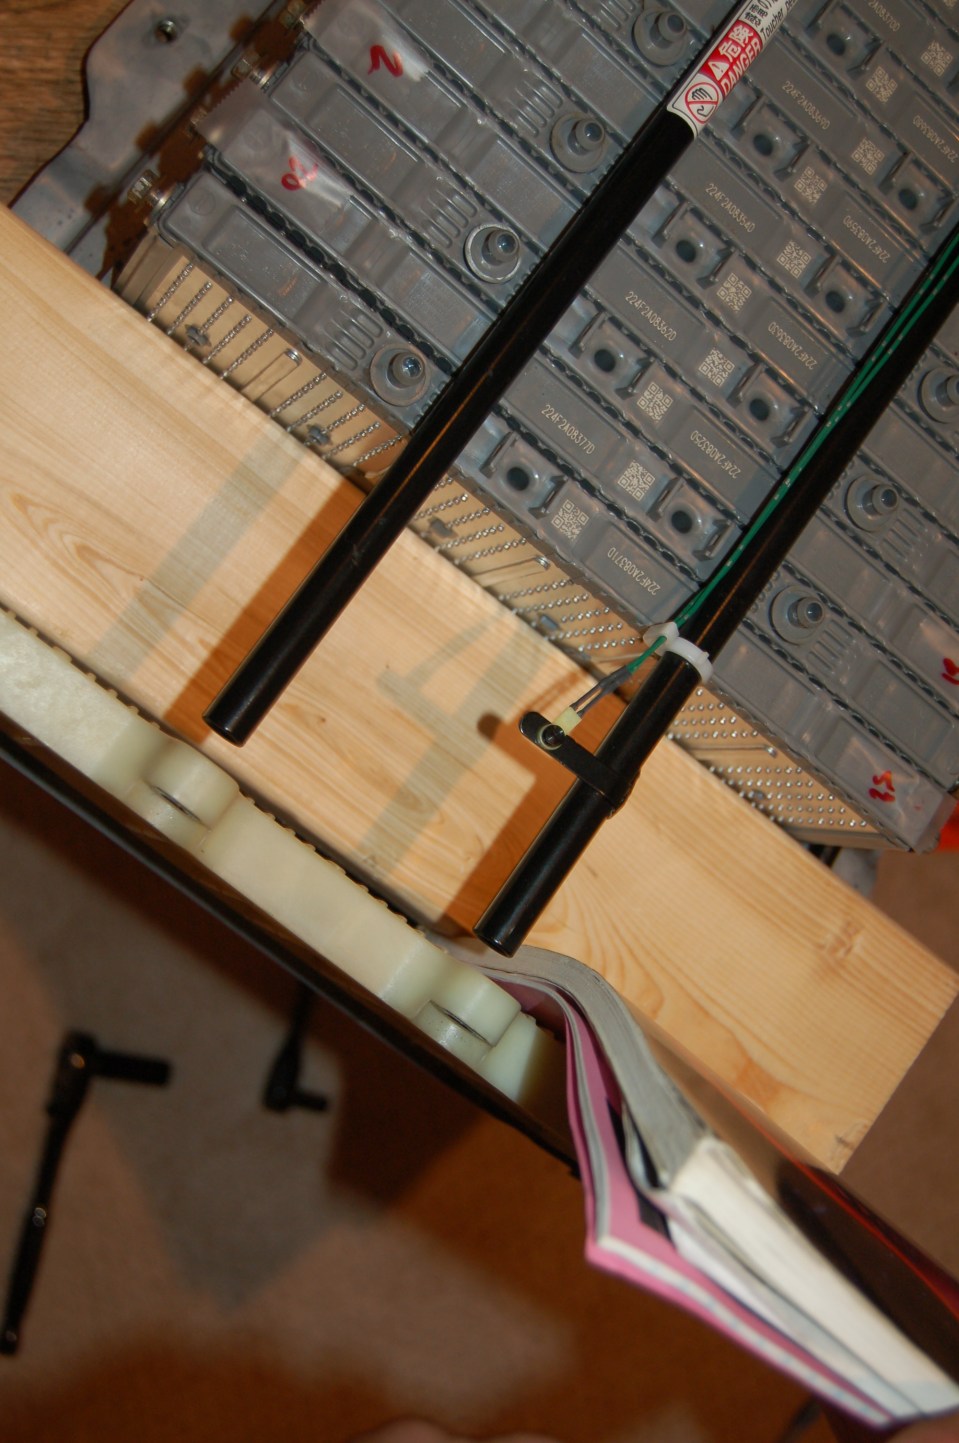
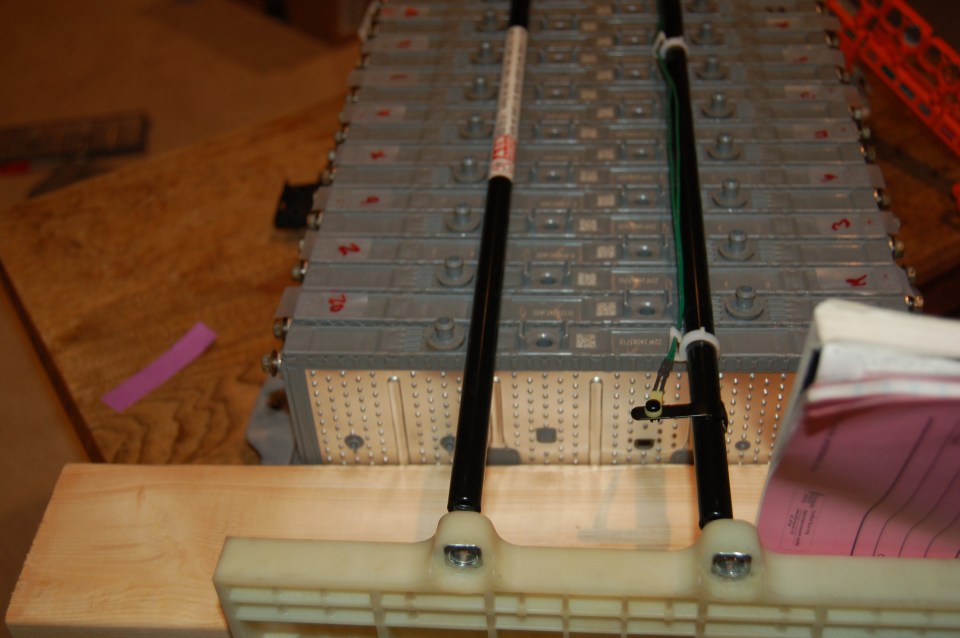
I removed just enough modules to be able to fit a 2×4 in there. Then I fastened the screws on top and on the bottom and used those screws to compress the modules. This let me get all the screws in the bottoms of all the modules, so releasing the pressure wouldn’t cause the modules too shift too much.
The last module was a tight squeeze:


There was no real trick here, I just mashed it in and tightened ‘er down. That said, I did find it easier to hook the plastic end piece on the bolts then jam the last module in as opposed to putting the module in and trying to hook the plastic end piece on.
