If you have a Raspberry Pi 4 and an Inky wHAT ePaper/eInk/EPD, you’ll likely want to use one with the other at some point. Here’s everything I did from opening the box of the Raspberry Pi and Inky wHAT to running the example code:
- Assemble the required ingredients:
- Raspberry Pi 4
- MicroSD card + SD card adapter + SD card reader (laptop maybe?)
- USB-C cable and 5V power supply
- Download a SD card flashing tool, e.g. from https://www.raspberrypi.org/downloads/
- Run the flashing tool, and flash an OS, I used Raspberry Pi OS Lite (Raspbian?)
- Before ejecting the SD card, set up your Wi-Fi connection and SSH
- For SSH:
- Create an empty file named “
ssh” (no extension) in the SD card’s boot partition
- Create an empty file named “
- For Wi-Fi:
- Create a file “
wpa_supplicant.conf” in the SD card’s boot partition with your configuration
- Create a file “
ctrl_interface=DIR=/var/run/wpa_supplicant GROUP=netdev
update_config=1
country=<Insert 2 letter ISO 3166-1 country code here, e.g. CA for Canada>

network={
    ssid="<Name of your wireless LAN>"
    psk="<Password for your wireless LAN>"
}- Eject the SD card from your computer
- Put the SD card in the Pi
- Connect the Pi to power
- Wait a minute or two
- Determine the IP address of the Pi as it joins your Wi-Fi
- I look at the device with the shortest uptime on my WLAN from my router
- other strategies outlined here: https://www.raspberrypi.org/documentation/remote-access/ip-address.md
- ssh into your Pi
- e.g.
ssh pi@192.168.1.215with password ‘raspberry‘
- e.g.
- Generally I update the PI first thing, just so I know where I stand
sudo apt updatesudo apt upgrade -ysudo apt autoremovesudo reboot
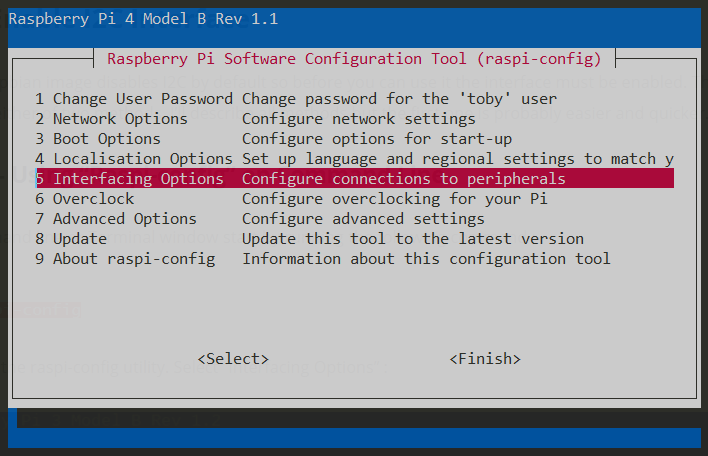
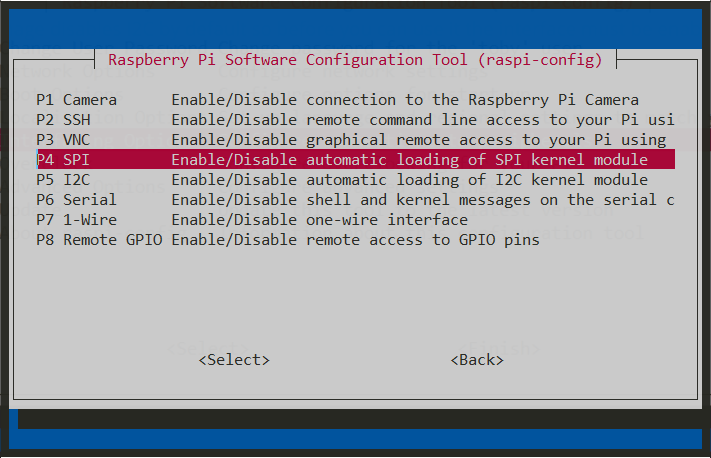
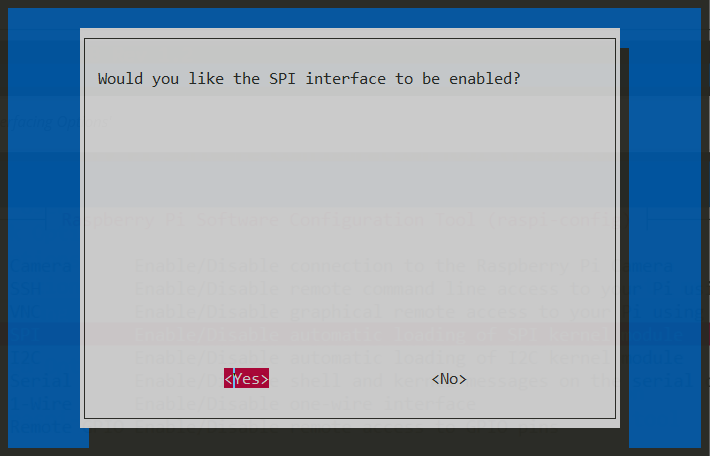
- Now, enable SPI and also I²C (I’m not sure why it needs both)
- Now on to the Pimoroni aspect!
- They recommend the ol’ magic script, which is a great way to start:
- Execute:
curl https://get.pimoroni.com/inky | bash - Opt to include the documentation and examples
- Wait a bit, restart the Raspberry Pi again
- Execute:
- Now, the moment of truth, run one of the included examples
- change directory into
~/Pimoroni/inky/examples sudo python name-badge.py --type "what" --colour "red" --name "Inigo Montoya"- Note that “sudo” is required because you’re accessing the GPIOs
- Also note the British spelling of “colour” – at this time “color” does not work
- change directory into
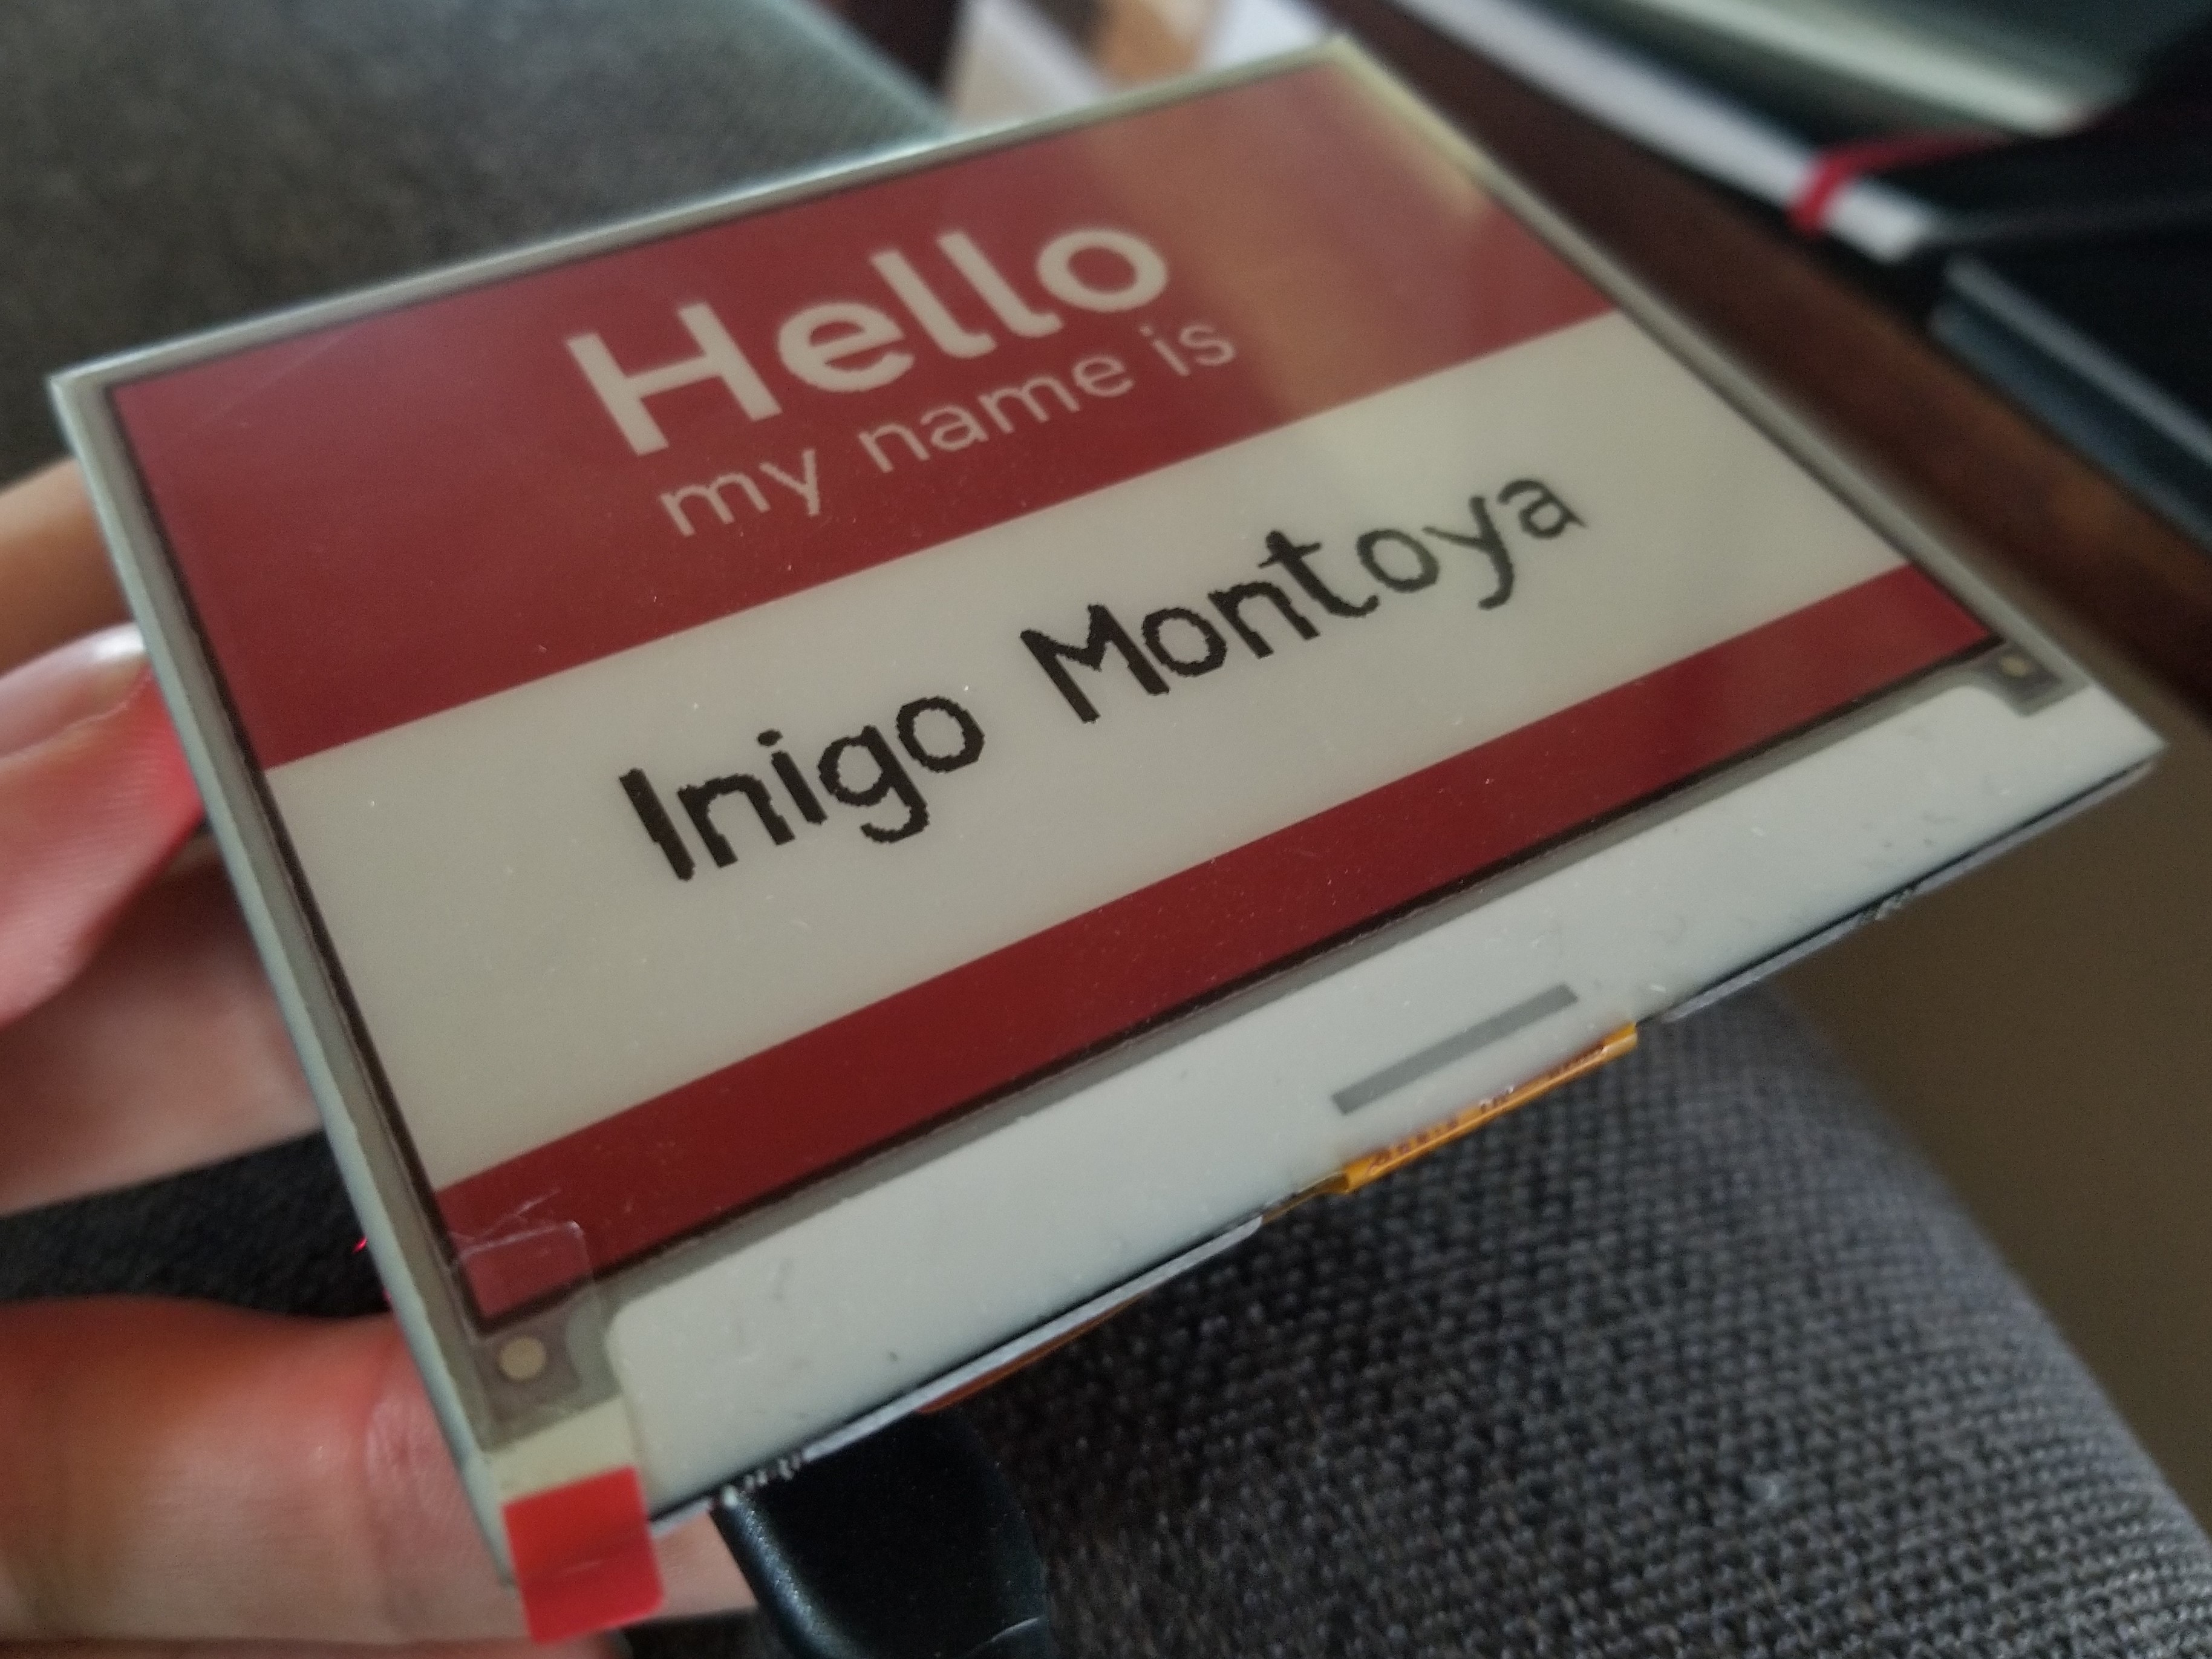

It looks absolutely fantastic in person. I love eInk displays, so I’m jacked up about this. Now time to create my own images!
